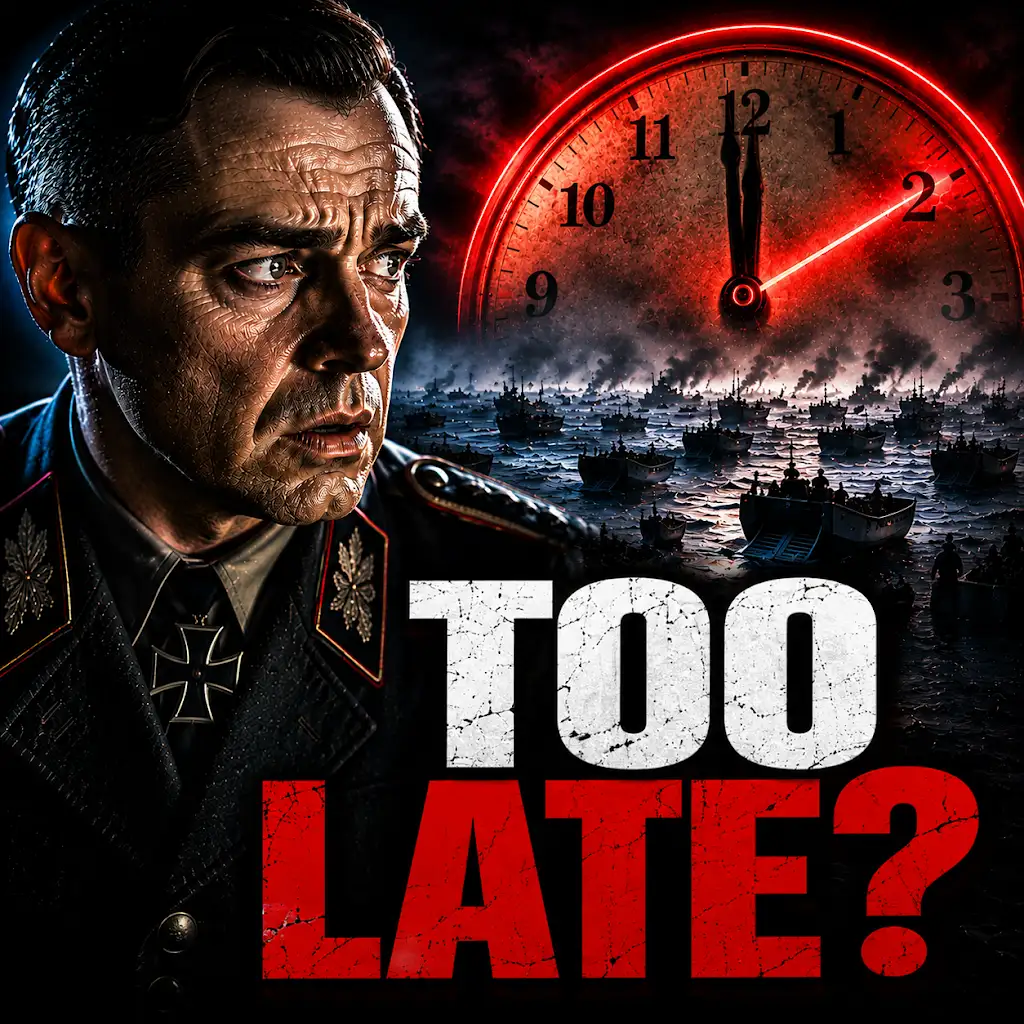
The vast armada churned the choppy waters of the English Channel, a steel and canvas behemoth poised on the brink of history. On this momentous D-Day, June 6, 1944, the fate of Western Europe hung precariously in the balance, a weight borne by a handful of men who had meticulously planned, agonizingly debated, and ultimately, decisively acted. Understanding the command decisions of D-Day is not merely an exercise in military history; it is a deep dive into the complex interplay of intelligence, logistics, strategy, and the human element of leadership under unimaginable pressure. These were not snap judgments but the culmination of years of planning, countless simulations, and constant adaptation in the face of evolving threats.
The decision to launch Operation Overlord, the Allied invasion of Normandy, was not a sudden revelation but a protracted negotiation born from the grim realities of World War II. By early 1944, the Eastern Front was a bloodbath, with Soviet forces bearing the brunt of the German war machine. The Western Allies, particularly Britain and the United States, felt an overwhelming pressure to open a second front in Europe, thereby relieving the immense strain on their Soviet allies and preventing a complete Soviet domination of the continent. This strategic imperative was the bedrock upon which all subsequent planning was built.
The “Second Front” Debate: A Lingering Shadow
The call for a second front had been a recurring theme since the fall of France in 1940. Stalin, desperate for relief, had repeatedly urged his Western counterparts to commit to an invasion of mainland Europe. However, the Allies, still reeling from the costly and ultimately unsuccessful Gallipoli campaign of World War I and the disastrous Dieppe Raid in 1942, harbored deep reservations.
The Lessons of Dieppe: A Scar on Allied Confidence
The Dieppe Raid, a frontal assault on a heavily fortified French port by Canadian troops in August 1942, served as a stark and brutal lesson. The raid was a catastrophe, resulting in over 900 Canadian casualties and nearly 600 taken prisoner. The lack of adequate air cover, the unpreparedness for coastal defenses, and the sheer ferocity of the German response deeply scarred Allied confidence in amphibious assaults. This event fueled a cautious approach and highlighted the critical need for overwhelming force, deception, and precise execution.
The American Push vs. British Caution: Strategic Philosophies Clash
Within the Allied high command, there were distinct strategic philosophies. American leadership, particularly President Franklin D. Roosevelt, was more inclined towards a direct, decisive confrontation with Germany, viewing a swift invasion as the most effective path to victory. British leadership, under Prime Minister Winston Churchill, was more cautious, preferring to wear down the enemy through strategic bombing, naval blockade, and limited amphibious operations in peripheral theaters, such as North Africa and Italy. This fundamental divergence in approach led to intense debates and compromises throughout the planning stages.
The “Second Front” Becomes a Reality: The Tehran Conference
The pivotal moment that cemented the decision to invade France was the Tehran Conference in November-December 1943. Here, Roosevelt, Churchill, and Stalin met to coordinate Allied strategy. While Stalin reiterated his demands for a cross-channel invasion, Roosevelt gave a firm commitment that the Allies would launch Overlord in May 1944. This commitment, made at the highest level, transformed the debate from a theoretical discussion into a concrete operational objective.
Intelligence Gathering and Deception: Painting a Target and Masking the Blow
The success of any invasion hinges on accurate intelligence and effective deception. For D-Day, both were paramount. The Allies had to understand the strength and disposition of German defenses while simultaneously convincing the enemy that the main assault would fall elsewhere. This intricate dance of information and misinformation was a testament to the ingenuity and dedication of intelligence agencies.
Understanding the Atlantic Wall: A Fortress Under Scrutiny
The “Atlantic Wall,” a formidable series of coastal defenses stretching from the Arctic Circle to the Spanish border, was the primary obstacle. Allied intelligence agencies worked tirelessly to map its fortifications, identify key strongpoints, and assess the strength of the German garrisons.
Reconnaissance Missions: Eyes in the Sky and on the Ground
Reconnaissance aircraft, including the iconic Mosquito bombers, provided crucial aerial imagery of German defenses. Agents and resistance fighters operating within occupied France also played a vital role, relaying information on troop movements, gun emplacements, and supply lines. This intelligence was painstakingly pieced together by organizations like the Joint Intelligence Committee (JIC) to create a comprehensive picture of the enemy’s capabilities.
Identifying Weaknesses: The Art of Finding the Cracks
While the Atlantic Wall was impressive, intelligence also identified potential weaknesses. The sandy soil of Normandy, for instance, was deemed less ideal for constructing heavily fortified bunkers compared to concrete structures found in other areas. Furthermore, intelligence suggested that the German forces in Normandy were a mix of veteran troops and less experienced units, with a significant portion being of lower quality and morale.
Operation Fortitude: The Masterstroke of Deception
The most audacious element of the D-Day planning was Operation Fortitude, a vast and elaborate deception campaign designed to mislead the German high command about the true landing site and timing of the invasion.
The Phantom Army of Pas-de-Calais: A Mirage of Invasion
Operation Fortitude North and South were the key components. Fortitude South created the illusion of a massive Allied army, the First U.S. Army Group (FUSAG), poised to invade the Pas-de-Calais region, the shortest and most obvious crossing point from Britain to the continent. This was achieved through a variety of methods.
Double Agents and Radio Traffic: Whispers of Invasion
Double agents, meticulously managed by British intelligence, fed false information to the Germans about the size and disposition of FUSAG. Fake radio traffic, simulating the communications of a large army, was broadcast, further reinforcing the illusion. Dummy landing craft, tanks, and aircraft were strategically placed in areas facing the Pas-de-Calais to create the appearance of preparations for a large-scale invasion.
General Patton as the Ghostly Commander: The Art of Persona
The charismatic and battle-hardened General George S. Patton, known for his aggressive tactics, was placed in nominal command of FUSAG. This lent significant credibility to the deception, as German intelligence had a healthy respect for Patton and his capabilities. His presence, even in a fabricated command, was a powerful deterrent.
Fortitude North: A Diversionary Ploy
Fortitude North aimed to convince the Germans that a secondary invasion might occur in Norway. This involved creating a phantom Norwegian army and broadcasting deceptive radio messages designed to draw German attention and resources away from Normandy.
The Logistics of an Unprecedented Undertaking: Bridging the Channel
The sheer scale of Operation Overlord presented an unparalleled logistical challenge. Moving hundreds of thousands of troops, thousands of tanks and vehicles, and tons of equipment across the English Channel and establishing a secure beachhead required meticulous planning and extraordinary resource management.
The Mighty Armada: A Floating City of War
The invasion fleet was the largest ever assembled. Over 7,000 ships, including warships, landing craft, troop transports, and supply vessels, were involved in the initial assault and subsequent resupply efforts.
Landing Craft: The Lifeblood of Amphibious Assaults
Specialized landing craft, such as the Higgins boat (LCVP) and the larger Landing Ship, Tank (LST), were crucial for delivering troops and vehicles directly onto the beaches. Their design and production were accelerated to meet the demands of the invasion.
Naval Fire Support: Clearing the Path
The Royal Navy and the U.S. Navy provided critical naval bombardment to soften German defenses before the troops hit the beaches. This fire support, delivered by battleships, cruisers, and destroyers, was a vital component in reducing casualties on the landing craft.
The Mulberry Harbors: Artificial Islands of Supply
Recognizing the vulnerability of the natural harbors of Normandy and the difficulty of capturing a major port in the initial stages, the Allies devised an audacious plan to construct artificial harbors, known as Mulberry Harbors.
Pre-fabricated Components: Engineering Marvels Afloat
These massive harbors were pre-fabricated in Britain and then towed across the Channel to be assembled off the coast of Normandy. They consisted of enormous concrete caissons, floating roadways, and breakwaters, designed to create protected anchorages for supply ships and allow for the rapid unloading of men and materiel.
The Critical Role of the Mulberries: Sustaining the Offensive
The Mulberry Harbors were instrumental in sustaining the Allied offensive. Despite being damaged by a severe storm shortly after their completion, they proved remarkably effective in channeling supplies to the front lines, enabling the Allies to outstrip the German ability to reinforce their positions.
Airborne Operations: Seizing Key Terrain
The airborne component of D-Day was crucial for securing key bridges, road junctions, and artillery batteries behind the beaches, thereby disrupting German communications and preventing reinforcements from reaching the landing zones.
Strategic Objectives: Paratroopers Behind Enemy Lines
American paratroopers of the 82nd and 101st Airborne Divisions were tasked with capturing vital bridges over the Douve River and controlling the roads leading inland from Utah Beach. British airborne forces, including the 6th Airborne Division, were assigned to capture Pegasus Bridge and the Merville Gun Battery.
The Challenges of Airborne Assaults: Dispersal and Confusion
Airborne operations were inherently risky, with a high degree of dispersal due to enemy fire and navigation challenges. The dropping of troops in darkness and unfamiliar territory often led to confusion and the scattering of units. However, the resilience and initiative of the paratroopers, even when separated from their units, were crucial in achieving their objectives.
The Choice of Normandy: Balancing Risk and Opportunity
The decision to land in Normandy, rather than the more heavily fortified Pas-de-Calais, was a strategic gamble. It was a choice made after extensive analysis of factors including German defenses, weather patterns, and the availability of suitable landing areas.
The Strategic Landscape: Pas-de-Calais vs. Normandy
The Pas-de-Calais offered the shortest sea crossing and the most direct route to Germany. However, it was also the most heavily defended part of the Atlantic Wall, with extensive fortifications and a large concentration of German troops.
The German Expectation: A Predictable Target
German intelligence, largely misled by Operation Fortitude, firmly believed that the main assault would be in the Pas-de-Calais. This was a calculated risk for the Allies; by drawing German attention there, they aimed to create a more favorable environment for the actual landings in Normandy.
Normandy’s Advantages: Room for Maneuver and Unforeseen Opportunities
Normandy, while still heavily defended, offered more extensive beach areas suitable for large-scale landings. It also provided more opportunities for initial exploitation and maneuver, allowing the Allies to expand their beachhead beyond the immediate landing zones. The relatively less developed defenses in some areas of Normandy, compared to Pas-de-Calais, were a significant factor.
The Crucial Role of Weather: A Tightening Deadline
The timing of D-Day was inextricably linked to weather conditions. The invasion required a favorable tide, sufficient daylight, and acceptable sea and air conditions.
The “Weather Window”: A Fleeting Opportunity
The Allied meteorologists, led by Group Captain James Stagg, played a critical role in forecasting the weather. They identified a narrow “weather window” that offered a brief period of relatively calm seas and acceptable visibility.
Eisenhower’s Gut Feeling and the Decision to Go: The Human Element
General Dwight D. Eisenhower, the Supreme Allied Commander, faced immense pressure. On June 5th, as unfavorable weather loomed, he was on the verge of postponing the invasion. However, a slight improvement in the forecast, coupled with his strategic assessment and perhaps a degree of calculated risk, led him to make the momentous decision to launch on June 6th. This decision highlights the blend of scientific data and decisive leadership.
Command and Control: The Nerve Center of the Invasion
The effective command and control of such a vast and complex operation were critical to its success. General Dwight D. Eisenhower and his staff at Supreme Headquarters Allied Expeditionary Force (SHAEF) bore the ultimate responsibility for orchestrating the invasion.
Eisenhower’s Leadership: A Unifying Force
Eisenhower’s leadership style was characterized by his ability to unite diverse national contingents and personalities within the Allied command structure. He fostered an environment of collaboration and trust, ensuring that differing opinions were heard and considered.
The Art of Delegation: Empowering Subordinates
While Eisenhower held ultimate authority, he was adept at delegating responsibility to his subordinate commanders, such as General Bernard Montgomery (ground forces) and Air Chief Marshal Sir Arthur Tedder (air forces). He trusted their expertise and allowed them considerable latitude in executing their specific tasks.
The Weight of Decision: Moments of Intense Pressure
Eisenhower faced numerous agonizing decisions, from the initial commitment to the invasion itself to the tactical adjustments made in the heat of battle. His calm demeanor and unwavering resolve in the face of immense pressure were crucial for maintaining morale and direction.
The Role of Subordinate Commanders: Operational Execution
The success of D-Day also rested on the shoulders of numerous subordinate commanders who were responsible for the tactical execution of the invasion on the ground, at sea, and in the air.
General Montgomery’s Ground Campaign: Consolidating the Beachhead
General Bernard Montgomery, commander of the Allied ground forces, was tasked with establishing and expanding the beachhead. His meticulous planning and focus on consolidating gains were crucial in the initial, perilous stages of the invasion.
Admiral Ramsay’s Naval Operation: Ushering in the Landing Force
Admiral Sir Bertram Ramsay, commander of the Allied naval forces, was responsible for the safe passage of the invasion fleet and the provision of naval gunfire support. His expertise in amphibious operations and his unwavering commitment were vital.
Air Chief Marshal Tedder’s Air Superiority: Dominating the Skies
Air Chief Marshal Sir Arthur Tedder, deputy supreme commander and commander of Allied air forces, played a crucial role in achieving air superiority over the invasion beaches and providing close air support to the ground troops.
The Aftermath and Legacy: A Turning Point and Enduring Lessons
The success of D-Day was not an end in itself but the beginning of the end of Nazi Germany. The command decisions made in the preceding months and on the day itself had profound and lasting consequences.
The Normandy Campaign: A Brutal and Costly Advance
While D-Day was a strategic success, the subsequent Normandy campaign was a brutal and costly fight. The Allies faced determined German resistance and challenging terrain, leading to intense battles for key towns and strategic positions.
The Battle for Caen: A Symbol of Fierce Resistance
The battle for Caen, a strategically important city, became a symbol of the fierce German resistance and the heavy toll of the campaign. The protracted fighting for this objective underscored the difficulty of breaking out of the initial beachhead.
The Falaise Pocket: A Devastating Blow to the Wehrmacht
The successful encirclement and destruction of a large German army in the Falaise Pocket in August 1944 was a decisive victory that significantly weakened the German war effort in the West and opened the path for the liberation of Paris.
The Enduring Lessons of D-Day Command Decisions
The command decisions of D-Day offer a rich tapestry of lessons for military and civilian leaders alike.
The Importance of Intelligence and Deception: The Power of Misdirection
The success of Operation Fortitude underscores the critical importance of intelligence gathering and the strategic use of deception in modern warfare. The ability to accurately assess enemy strengths and weaknesses, and to effectively mislead the enemy, can be a decisive factor.
The Art of Logistics: The Unsung Hero of Victory
The logistical triumph of D-Day highlights the often-overlooked but absolutely essential role of logistics in military operations. Without the meticulous planning and execution of supply chains, even the best-laid strategic plans would falter.
The Human Factor in Decision-Making: Courage, Conviction, and Compromise
Ultimately, D-Day was a testament to the human element of leadership. The courage of the soldiers, the conviction of the commanders, and the willingness to make difficult compromises under immense pressure were all essential ingredients of victory. The decisions made on the eve of D-Day, particularly Eisenhower’s choice to proceed despite unfavorable weather, serve as a potent reminder of the human element in even the most technologically advanced military endeavors. The legacy of D-Day command decisions continues to inform strategic thinking and leadership, a constant reminder of the immense responsibility that accompanies the stewardship of lives and the destiny of nations.